I, would have no ideaMy top coat is 1 part NHL 3.5, 1 part non-hydraulic putty slaked myself from Calbux 90 quicklime, 2 parts fine sand. I’m hoping that’s going to be quite durable?


I, would have no ideaMy top coat is 1 part NHL 3.5, 1 part non-hydraulic putty slaked myself from Calbux 90 quicklime, 2 parts fine sand. I’m hoping that’s going to be quite durable?
It’s definitely not as hard or as durable as modern plaster finishes. It gets harder as it cures over the years, but it’s still relatively soft. I’ve been painting our “new” plaster over the last few months - I say “new” because it is about 18 months since it was done. Whilst decorating I’ve managed to dent it by accidentally chucking a dustpan brush at it. I propped the vacuum up against it and it slid down leaving a big scratch. Our carpenter manage to mangle a lot of it whilst fitting the doors. I also stupidly drew arrows on the ceiling for the electrician and now have score marks. Pencil wins in pencil vs lime plaster.Hmmm, I hope it’s more durable than all that! I thought lime is supposed to be as hard as (if not harder than) gypsum?
I don’t know either - sorry! We get ours premixed. In case it’s helpful, this is the stuff we use.My top coat is 1 part NHL 3.5, 1 part non-hydraulic putty slaked myself from Calbux 90 quicklime, 2 parts fine sand. I’m hoping that’s going to be quite durable?
Ok ours will be harder than that as yours is purely non-hydraulic where as ours will be partially hydraulic. Thanks for the info though.I don’t know either - sorry! We get ours premixed. In case it’s helpful, this is the stuff we use.
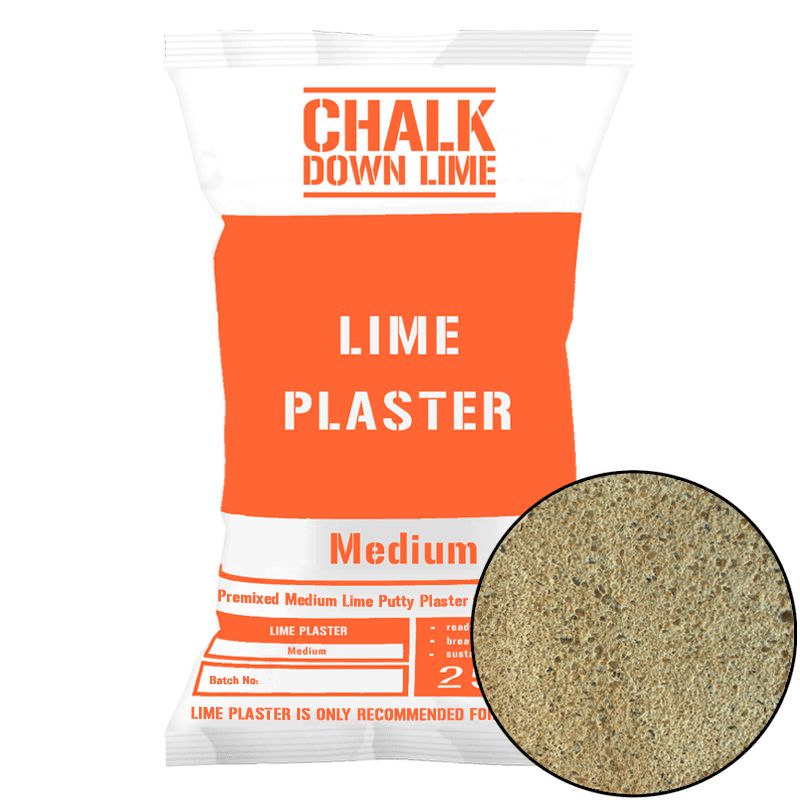
Lime Plaster (Medium)
Chalk Down Lime - Medium-grade “Wealden” premixed (wet), non-hydraulic, hot-mixed, traditional lime putty plaster for use onto: lime base coats, soft and porous historic masonry and wood wool boards.www.chalkdownlime.com
That’s good news and more what I was expecting / hoping for. Thanks for that info. They do say lime continued to strengthen and carbonate for years so it does make sense as well.I have found that once cured it is very hard. Yes, to start with it dents - my mother-in-law violently tapped my couple of months old plaster with her horrid false nails and left a whole load of indents. This was on my first ever plastering effort so I've never quite forgiven her.
BUT a few years on and it is can be bashed with hoovers and bits of wood and ladders without a scratch.
I used a 2:1 mix with hydrated lime ( I think it's called, it's non hydraulic) and 0-2 sand for the top coat and 3:1 with same lime and 0-4 sand for the under layers, float coat with horse hair.
Just did the smoothing / polishing of the 3rd wall. My wife laid it on the wall yesterday around 4 pm so it had a good 18 hours on the wall (albeit in an unheated outbuilding). I do think that bit of extra stiffness it developed overnight was beneficial to the smoothing work.Hmmm, yeah I could see how it would sand the top fat / pure lime off the surface and expose the aggregate. I was thinking that if I sand it first, and then slap 3-4 coats of lime wash onto it that would essentially replace the top layer of fatty lime that was lost from sanding?
I’ve been doing my finishing work 3-4 hours after it first goes onto the wall, but I’ve been wondering if that’s too soon. It’s still quite fluid / soft on the wall at that point. And now you’re saying that you do your finishing the day AFTER it first goes on? So for this next wall we’re doing today, I think I’ll wait until the next day to do my trowel finishing as it might benefit from the extra stiffness it gains overnight?


Yeah ok I’ll have another go this evening and maybe add a touch more material to a few grainy placesThat last but one pic, those indentations I have been filling so they’re flush, probably not too late?
Ah that’s cool, I had read in a plastering book that for super fine work a tiny thin skim of pure putty can be done. Maybe I’ll give that a shot on the last wall.I have always understood that one can overwork the plaster, that if you bring too much lime to the surface then you leave a fragile layer underneath as it is too sandy without enough lime to bind it.
It's looking good, for those grainy bits you could just add a bit more pure lime over the top.
I did a wall where i used a coarser sand and then before the final smoothing i applied pure lime putty to smooth the grainy bits like you have.
This worked really well and 10 yrs later is looking good.
A wall where I used a really fine sand I had more trouble with grain coming to the surface - I think I overworked it.
Interestingly, here in France, the lime "rules" vary from those in England - confirms your thread thoughts about the rules.
Hmm that is really interesting. Here it’s basically the opposite of that! The base coats tend to have the least lime and the top coats the most lime!The pure lime mix you can lay on as you do your finaltop coat flattening (not sure what you call it) just where needed so it sort of beds in to your top coat and covers all the rough bits. After that it's surprising how much a few coats of limewash will cover.
A big difference here is that: "it is vital that the layers of plaster get leaner as you go" so the base coat would be a rich lime mix and the top coat really lean/sandy. To get around the fact that the top coat would then be grainy they use a finer and finer sand as they go. So 0-4mm sand for the scratch coat 0-2mm sand for the float and what is termed 00 for the top coat.
Yeah I’ve tried the sponge but idk, I always feel like it’s destroying my hard work…You can get it smoother but it is hard to get a completely uniform surface.
The fat would be there as the mix is all the same, it's more a case of the lows being passed over by the trowel and in turn not being smoothed.
Have you tried sponge floating a section and then closing in this in essence gives you a larger amount of fatty plaster to play with?
Yea I use a paintbrush on rounded corners as well.I've never had any success with a sponge either, it just seems to make a mess of the plaster.
can anybody suggest what we're doing wrong?
On my first ceiling plastering in between the beams I did brush the plaster out a bit with a large soft wet paint brush. It left some faint undulations but I liked the finish and it looked a lot better than the "obviously couldn't get the corners smooth" look I had managed with just the trowel.