Toby Newell
Member
- Messages
- 1,635
- Location
- Surrey
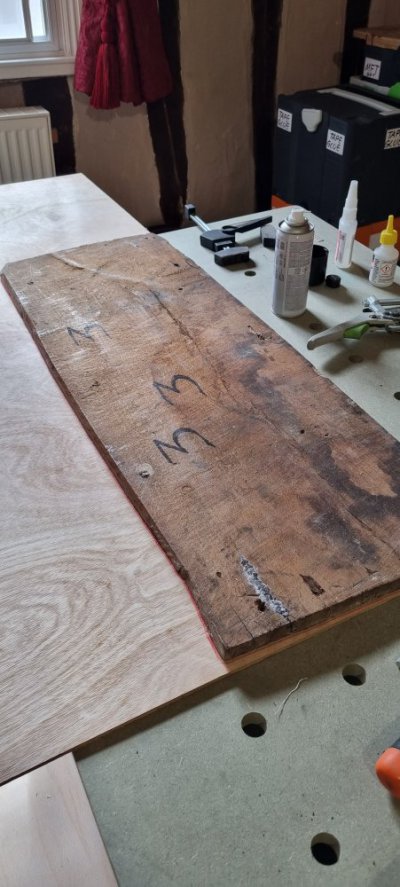
Thought I would post a mini guide as I'm on the job...
You won't find this on SPAB because the lovely Architect or Surveyor bloke who wrote the how to articles has probably never repaired a floor for more than a few hours, as opposed to thousands of hours over decades.
I had to admonish my client this morning for accusing me of being a professional. I told him I am a very experienced amateur (Bodger, wood wizard, general fiddler) This means you can do at least as good a job as I can.
When you come to stain or coat your floor you will have glue to contend with, but the alternative which 99.999% of contractors do is to throw away and fit new reclaimed.
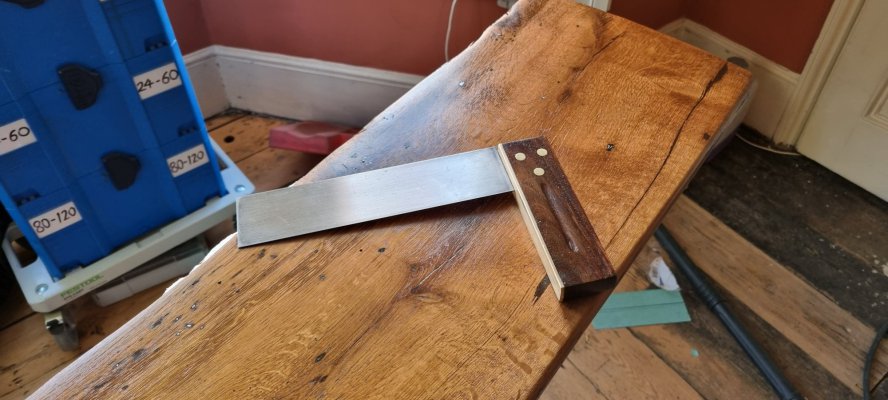
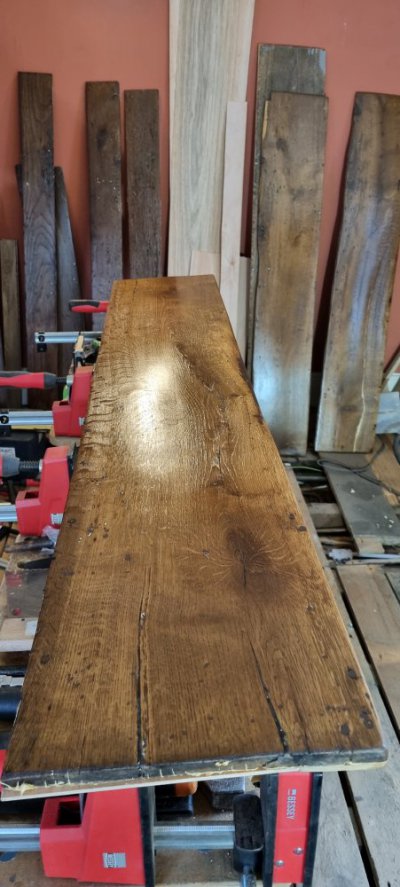
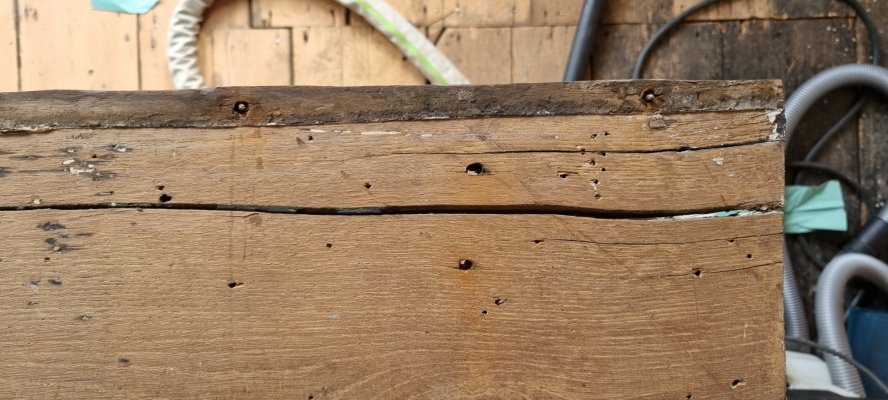
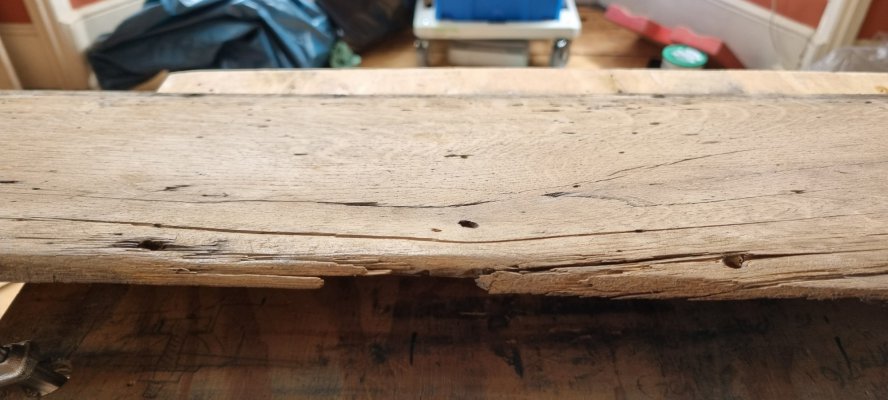
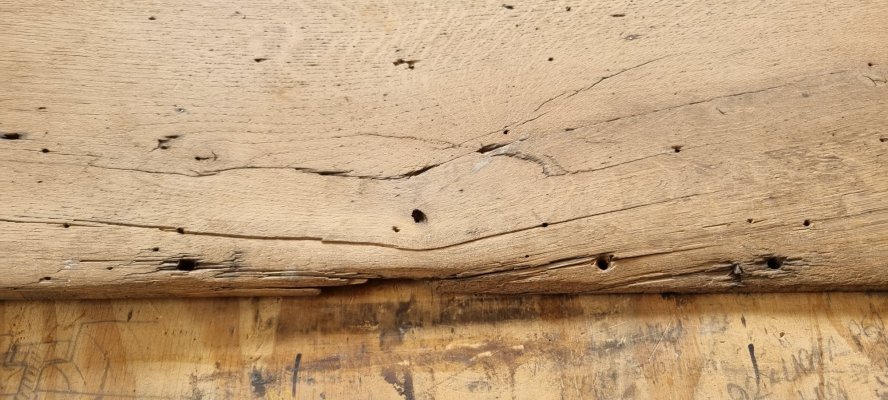
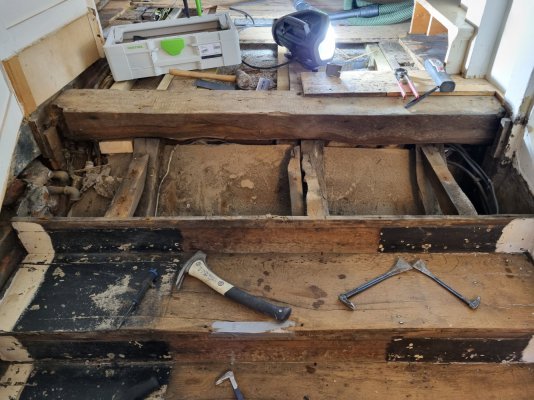
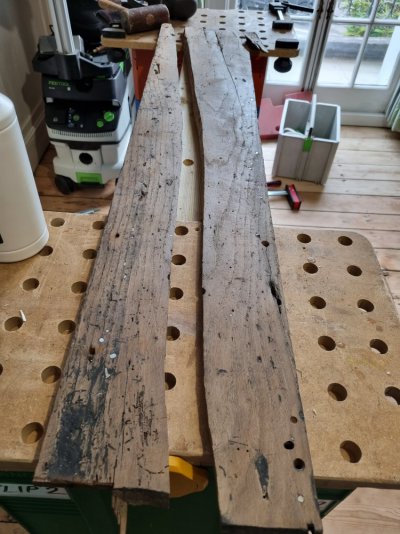
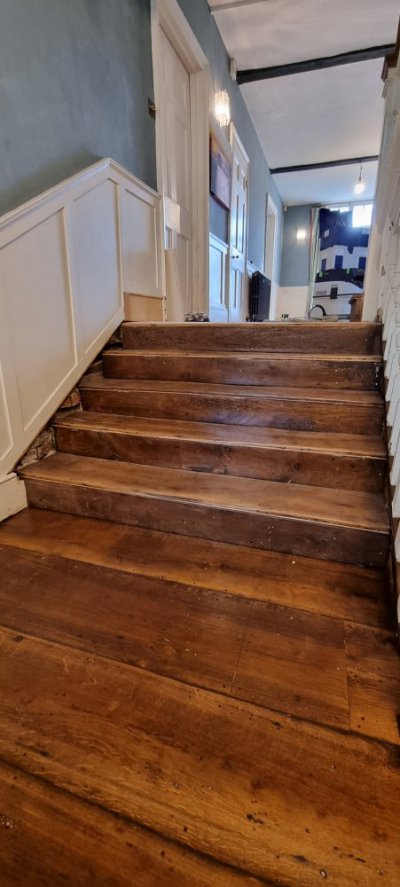
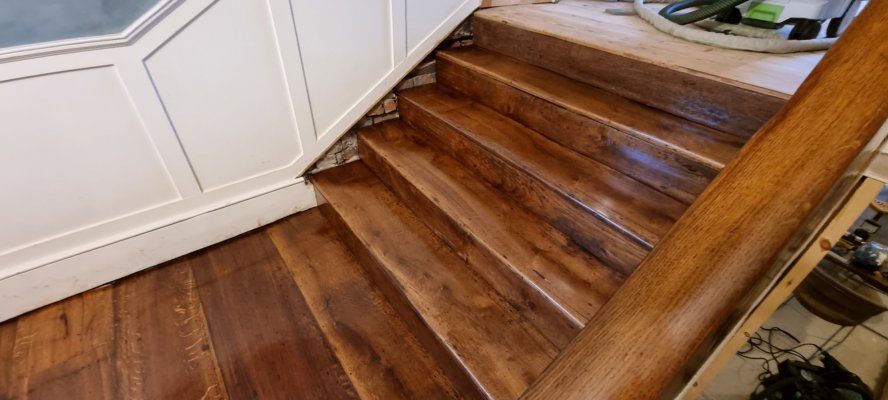
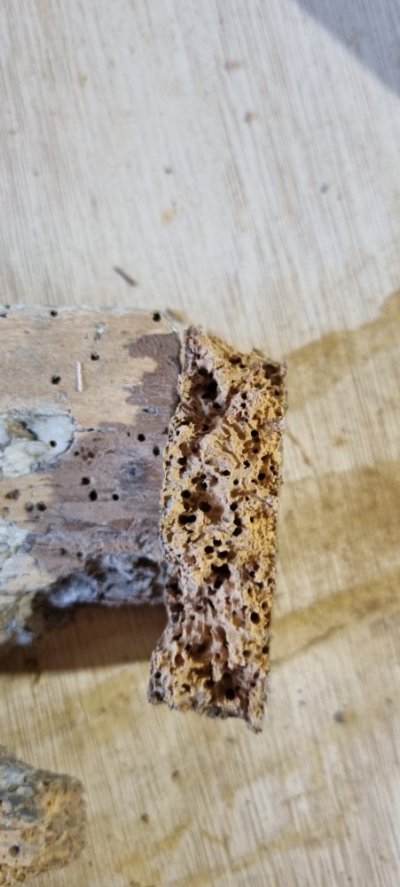
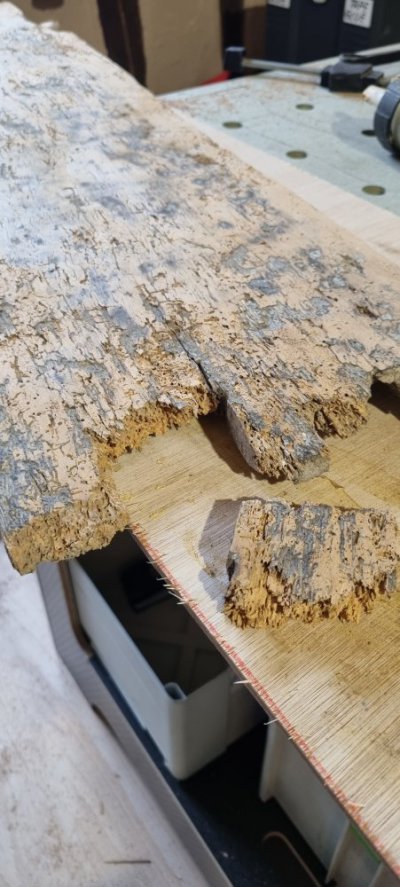
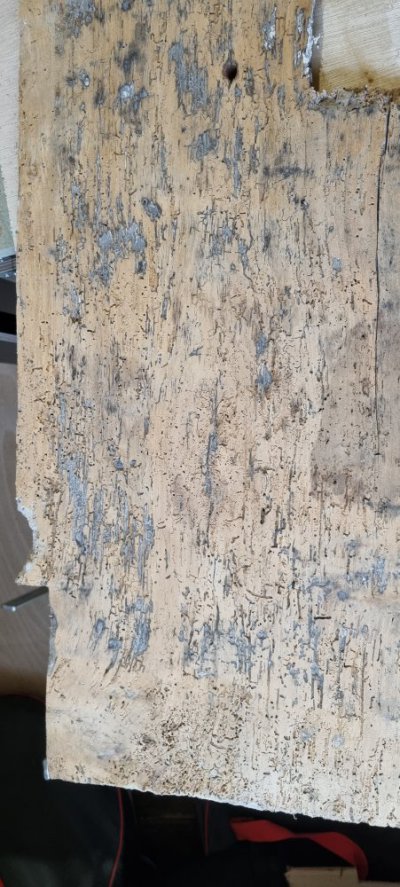
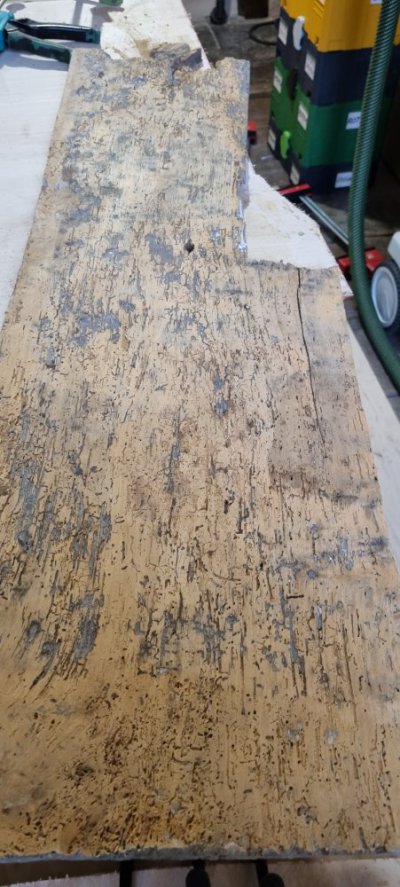
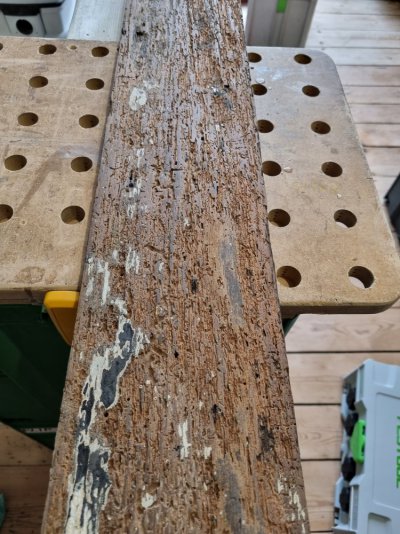
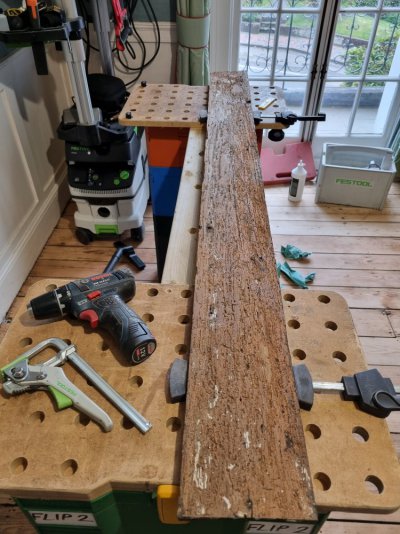
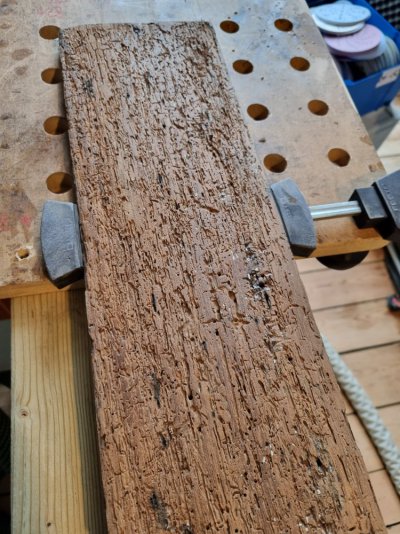
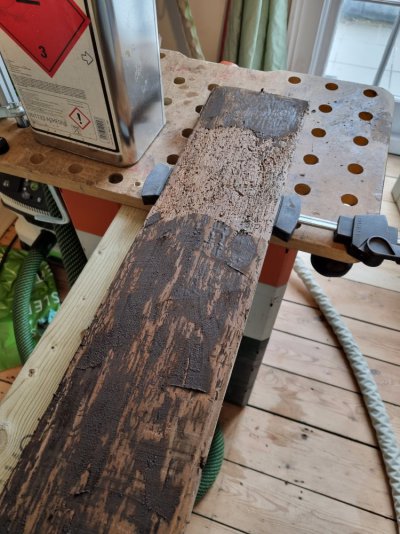
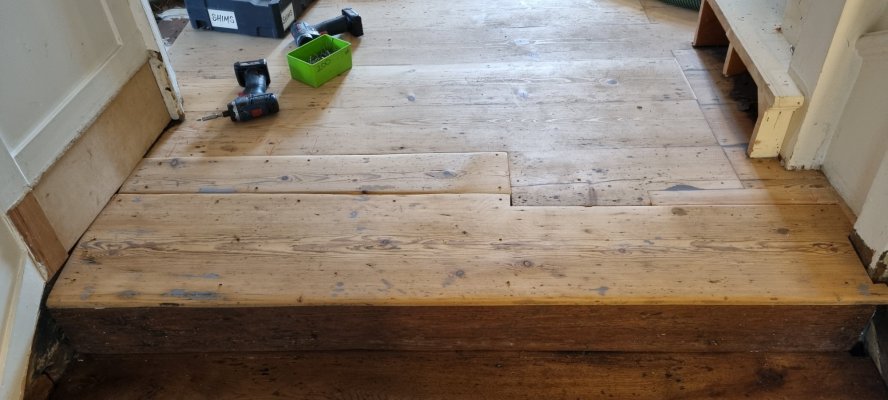
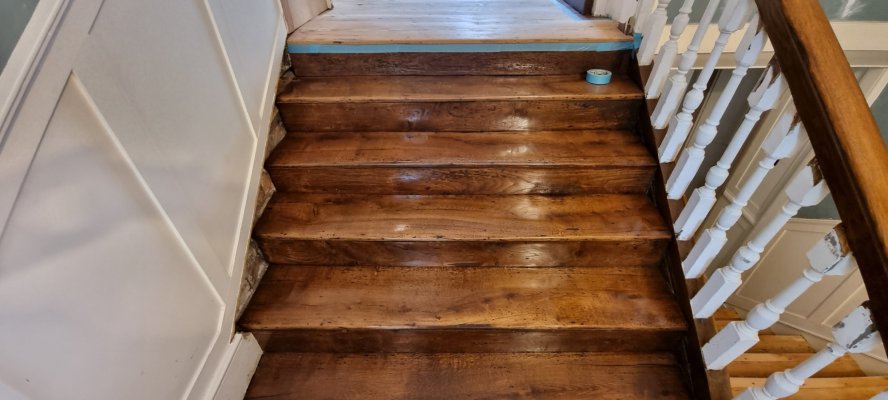
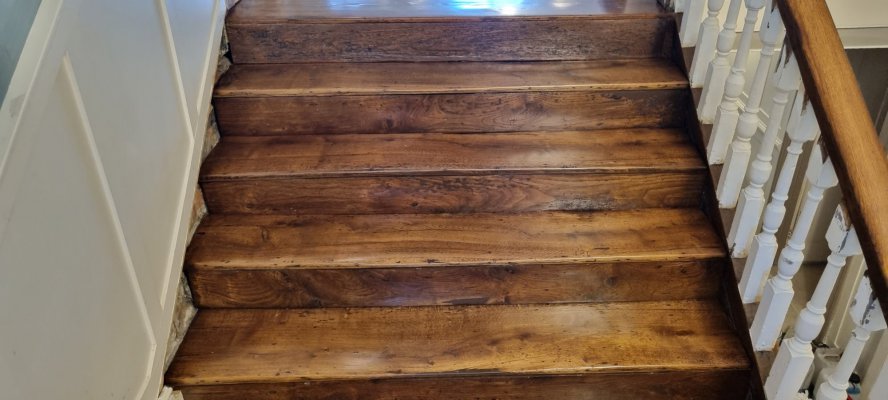
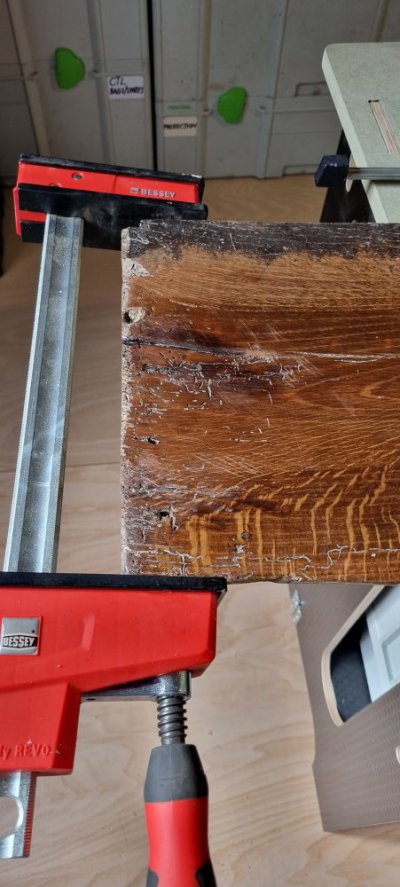
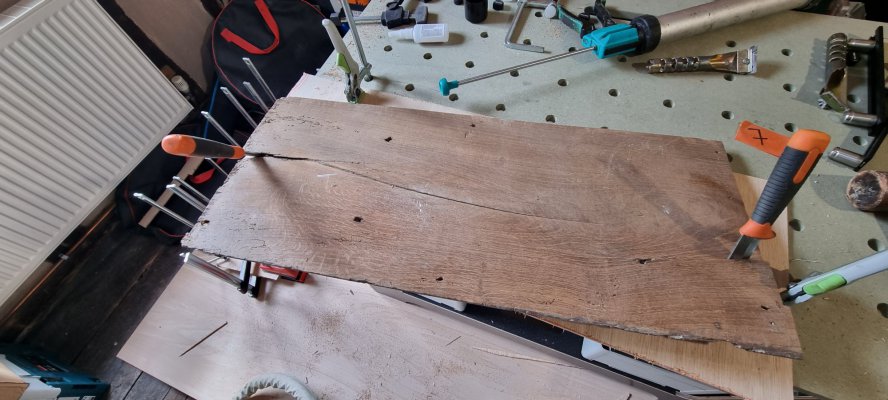
As long as the top can be sanded without disintegrating all boards however badly damaged can be saved. No idea why skinning cats was so popular in the past but other methods are available. This is what several hundred hours of thinking, research and fiddling get you. And, fyi, also the spending of several thousand pounds during the process. Research is fine and dandy but at some point science demands you buy a bunch of tools and materials and start fiddling. It appears to work, you can of course add your own ideas and potentially improve on my work, please let us know if that is the case! I have saved 12mm late 1700s pine boards, 1450 pine and oak (shown below) and 1685 oak and pine (in reply addendum) amongst many others.
Infuriatingly tedious at times, yes, patiences testing, of course, technically difficult? not really. Rewarding? Very.
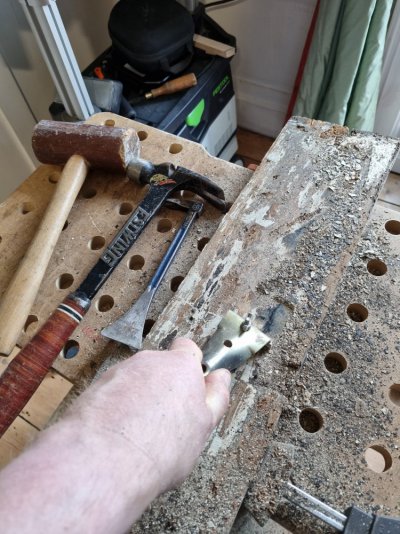
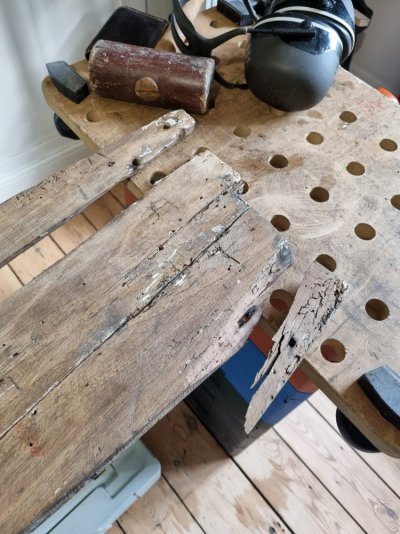
1. Carefully lift boards, Japanese cats paw tools, Knipex pincers, Vaughan Superbar prybars can help. Punch through / remove all nails and screws you can as these are crack initiators, you can fill voids on the rear with two pack filler.
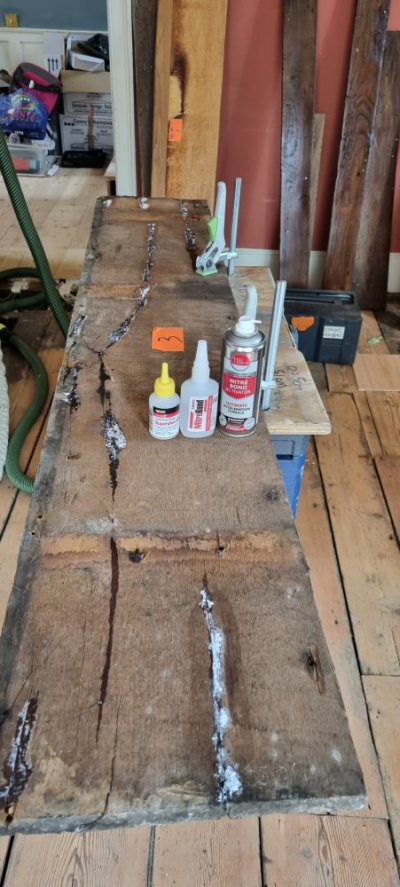
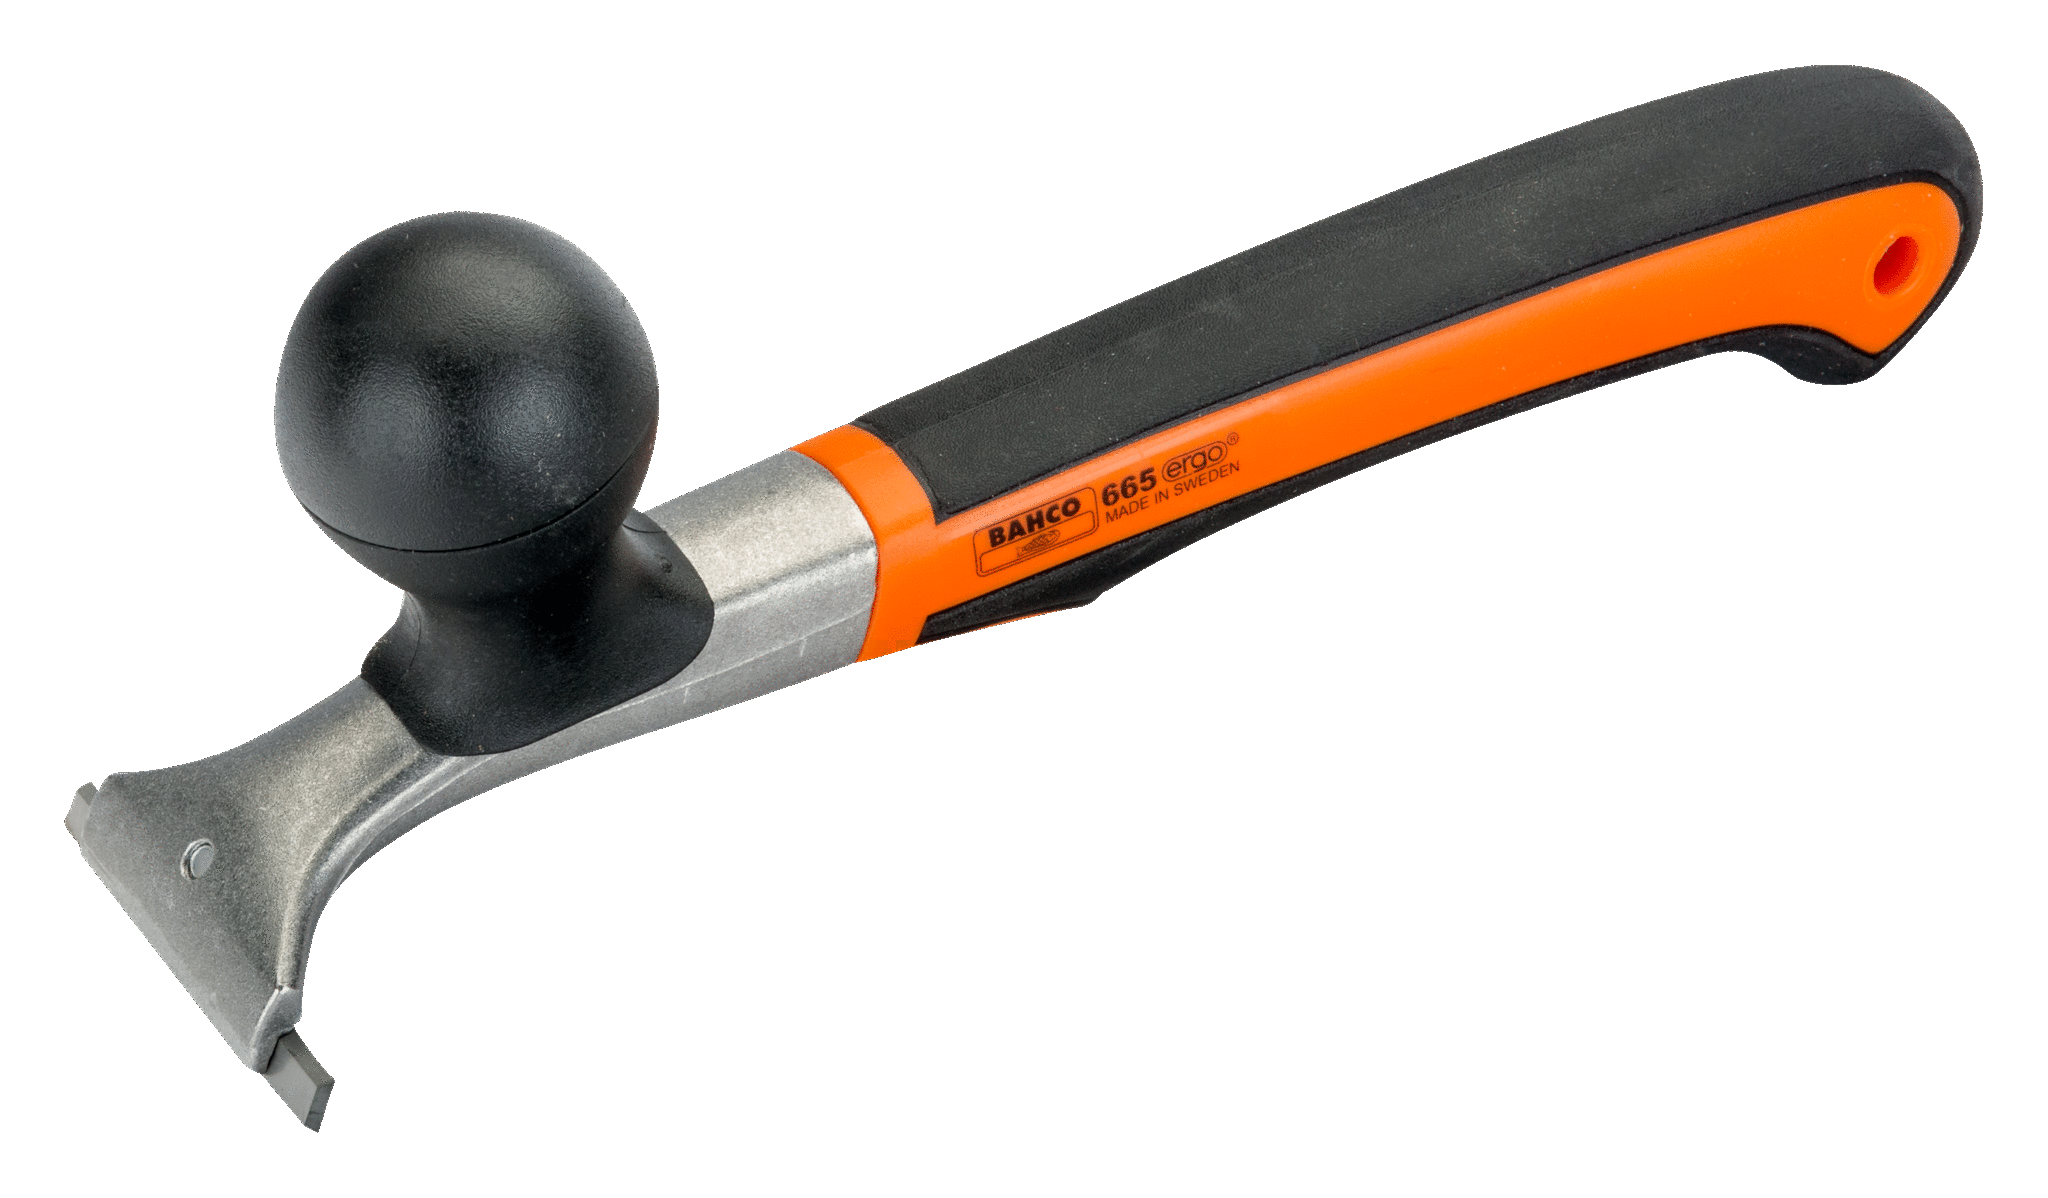
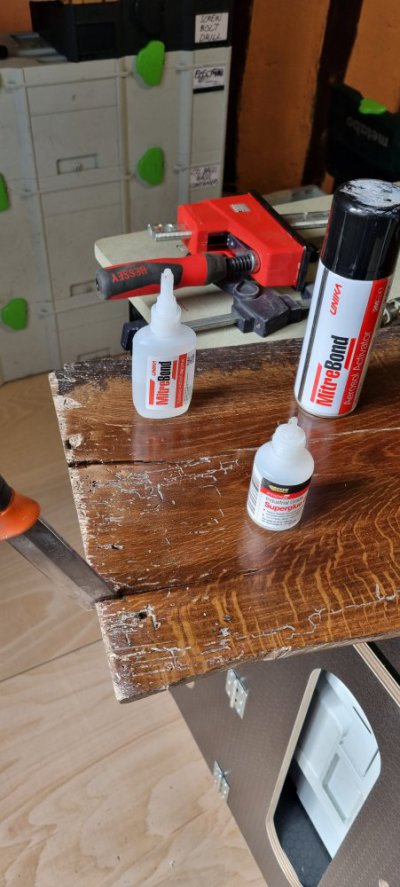
2. Small end cracks or clean straight cracks can be opened up with a flat thin pointy thing, my weapons of choice are shaving sharp Bahco chisel knives (v highly recommended) I use industrial two part superglue previously known as Mitre fix or similar.
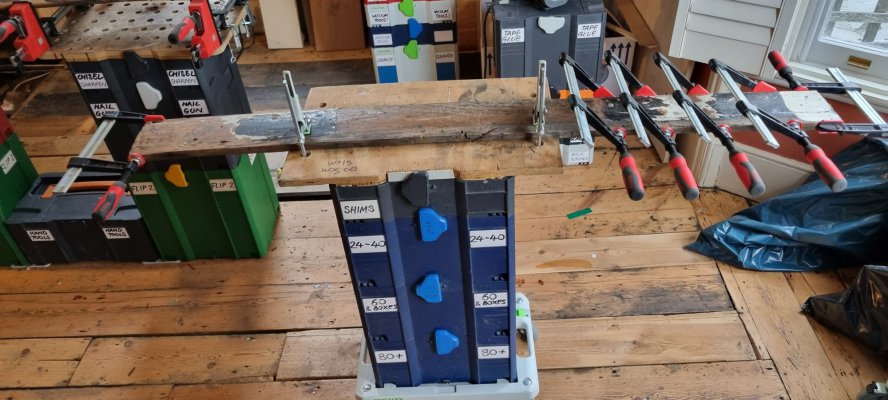
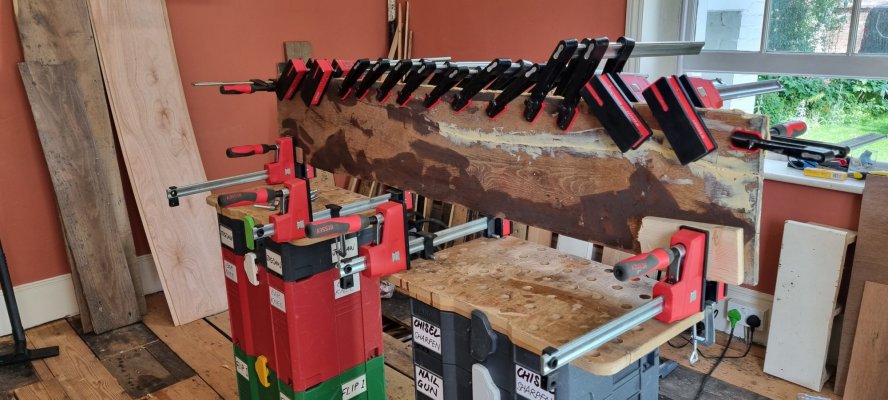
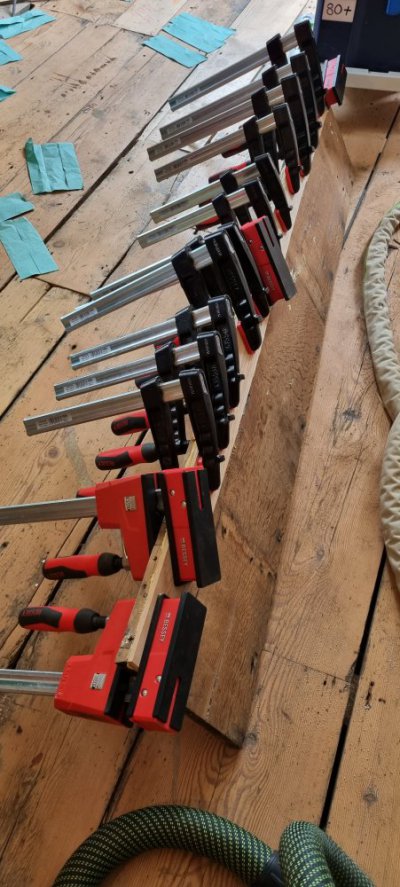
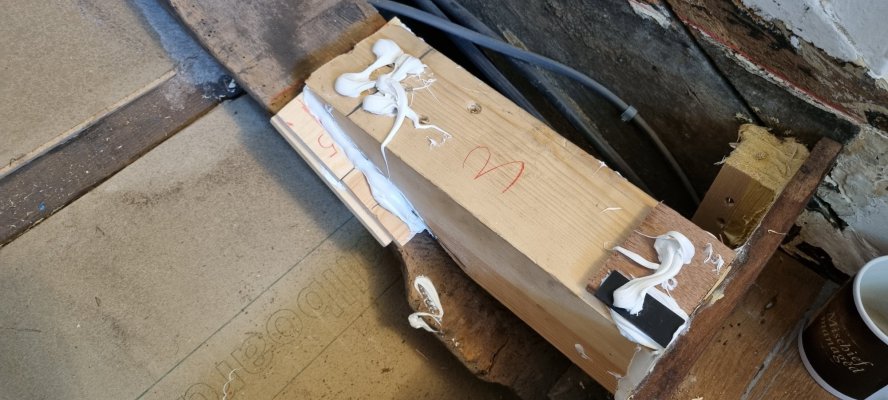
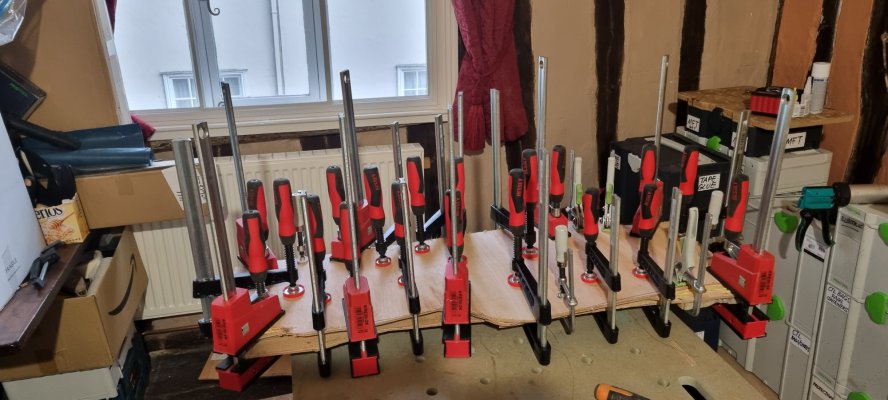
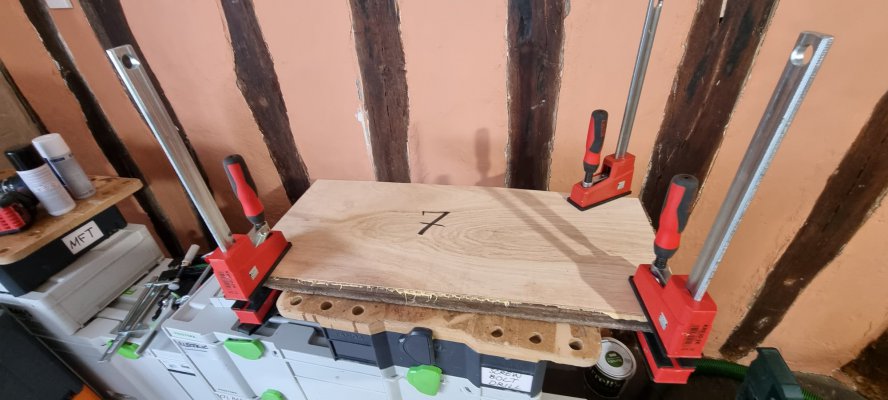
I use two viscosities, a thin one (Amazon yellow cap) wicks into smaller cracks thicker ones used for larger cracks. Open crack, squirt in glue, leave time to flow down, remove flat pointy thing. Cramp up, (Bessey Revo K body and F clamps shown) spray with activator. You may need to scrape glue line once it hardens with a carbide scraper and respray activator, after a minute or two you can uncramp.
Note on clamps.
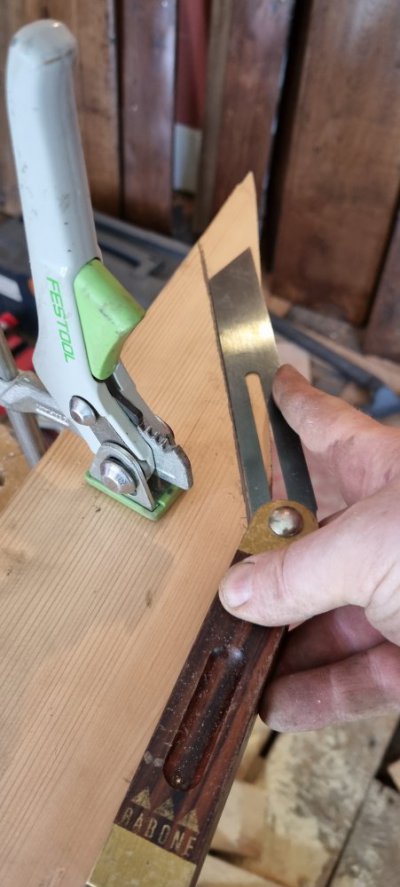
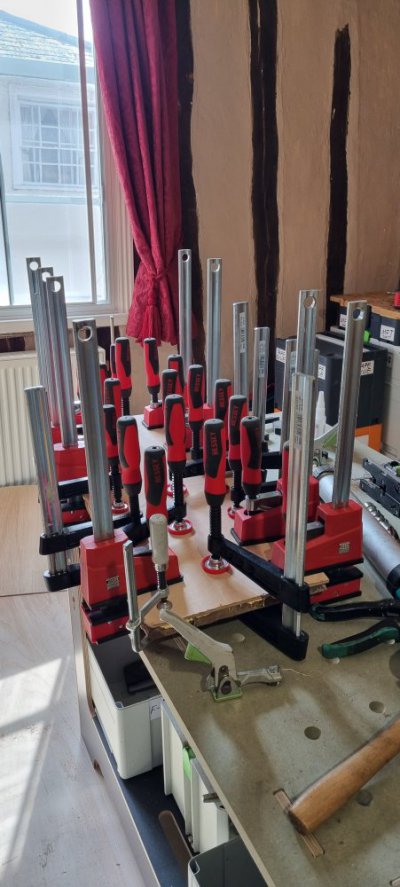
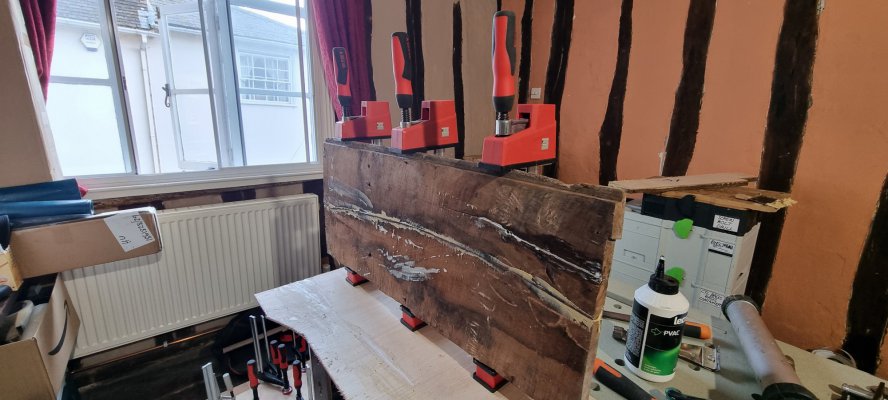
You will need around 20 clamps for one large board (or more) C screw clamps are the cheapest for fixing ply backing, making your own pipe clamps can be cheaper than buying parallel clamps. Bessey invented many clamps, you got a Festool rail or quick clamp? It's a Bessey in a dress. The beauty of Bessey K series is you can reverse them and use as a spreader / makeshift joist clamp to but up boards when refitting / join two together with accessories / fix them to a table or bench with mini clamps to fix the clamps! and create a large extension vice. Inferior brands are available...
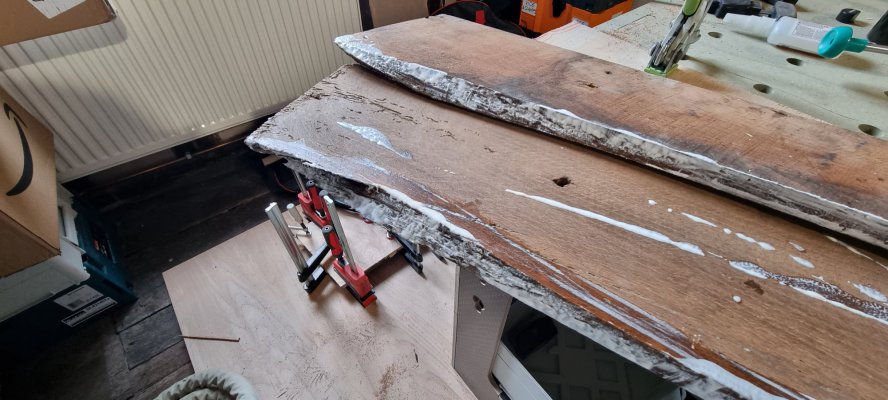
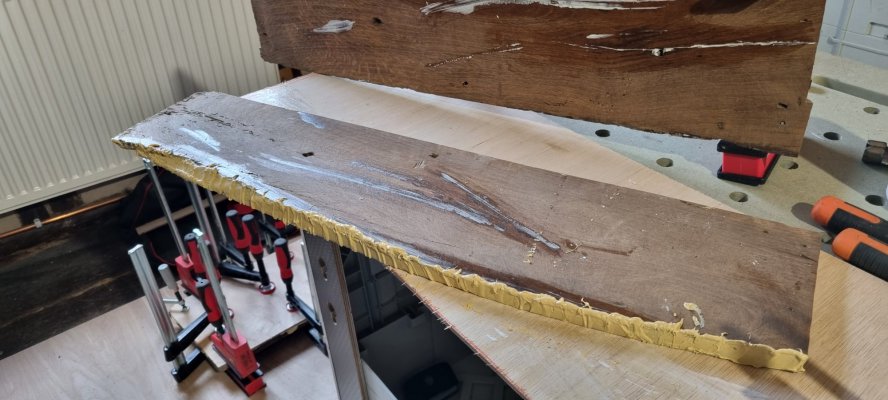
3. Larger straight cracks, that are parallel to the board THICKNESS can either be superglued or glued with D3 or D4 quick setting PVA. You could use PU moisture cure glue but I use PVA. PU glue is basically thicker PU foam and expands which pushes against the joint, probably just as good as PVA. This can take 20 mins to set but I often leave for a couple of hours or overnight if its really bad.
4. If your crack is very diagonal (almost all will be to some extent) or irregular where it has broken around a knot or wavy grain (or simply sharply angked grain) then cramping may not work. You can try with PVA but sometimes you will fire several 2kg Bessey clamps at you client for effect as your board gives way (true story) The diagonal angle makes one side ride up. In this case...
5. Don't worry about any PVA, wipe off excess, modified silane hybrid adhesives are partly moisture cure, I use Wakol MS262 or Bona R850 or Quantum (Bona Quantum is stronger) I also use Everbuild (Sika) MULTISTICK tubes, you can get these at Toolstation. If you are in N London Builder depot do an Elka brand.
Note on construction adhesive.
Your builder uses gripfill because he is dumb or doesn't care. Same with floor installers, although they have less of an excuse as these adhesives were developed
for the rigours of large diameter glue ups (ie floors) around 15 years ago (a floor is essentially a 20m2 / 200ft2 4m wide bit of timber for example) ie, floors. If your floor bod arrives with a large drum of Lecol 5500, its basically Gripfill. Gripfill is great, very strong but open time is piffling and the cured adhesive is very hard and brittle and wood laughs at hard brittle things. Also Gripfill hates water and hybrid adhesives are moisture curing, love damp and can even cure under water. Find a good quality training shoe or work shoe with a dense yet flexible sole, that's similar stuff, very hard to rip by hand yet very flexible. Wood moves, a lot, and if your adhesive doesn't it will eventually fail.
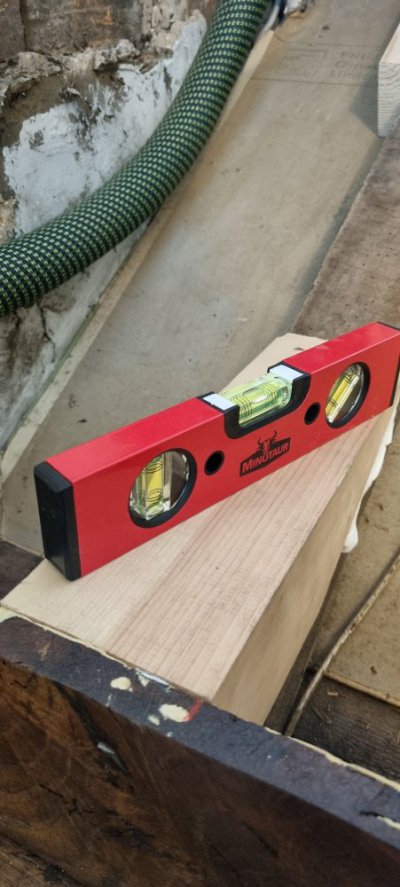
Daub the adhesive on and very lightly clamp and check for level until partly set, about 30 mins, then...
6. You will need to strengthen by engineering your own engineered boards. I use 5.5mm exterior grade ply.. You can use 3.6mm to stabilise cracks or 9mm if the boards are very thin or 2x layers of 5 5mm if your board thinks its Friday (Crunchie bar joke) Trace and cut ply.
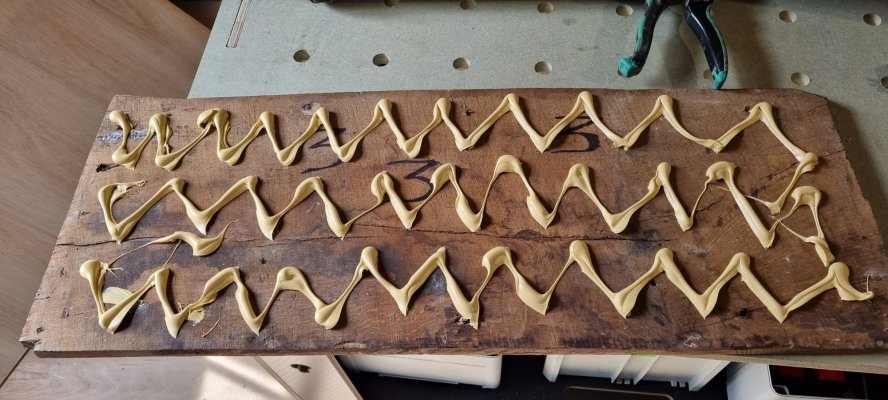
Apply glue dot and dab, use a notched trowel, I'm using my Bona ones here (not shown), to make straight ridges, apply to board, collapse ridges by pushing down and wriggling perpendicular to the ridge direction. This expells the air and causes a partial vacuum, pulls rhe boards together and helps eliminate voids.
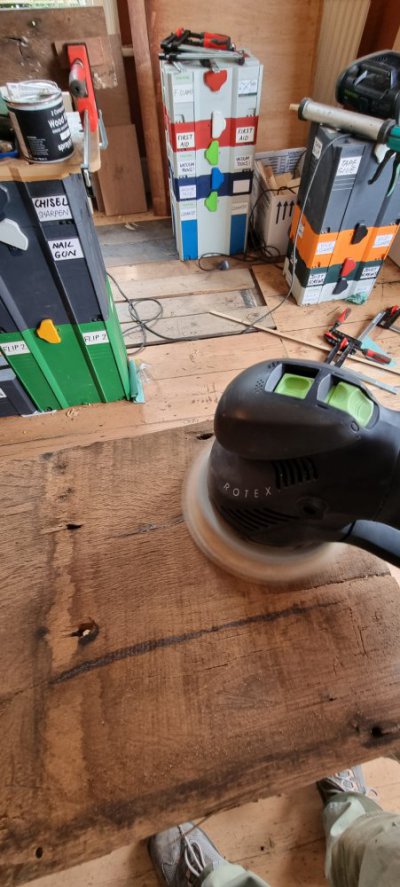
If you have a flat backed board (scrape, brush, vacuum and lightly sand loose fibres, marvel briefly at pit sawing marks if you have them) you may only need a few at the ends, yay.
If your boards are wonderfully curvy you may need all the clamps you have... and yes, I do know about plattens, these are the widest boards you will see, 330mm. Ideally you would place a backer board either side of 9mm ply and gently curve some 1.5in thick oak stretchers taking 3mm off at the edges and blending towards the middle. When clamped at the edges so the edges touch the extra force apply more even pressure to the middle.
I may make some but, meh, enough to do.
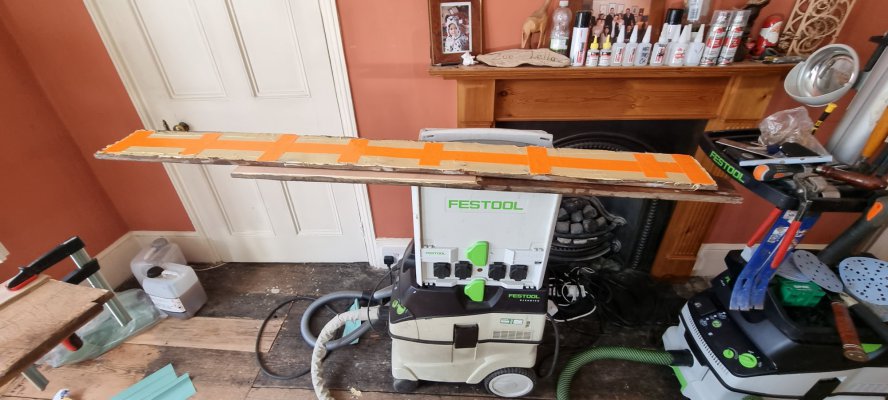
7. If you glued using CA glue (cyanoacrylate = superglue) you might want to scrape the dried glue from the underside, smear on some hybrid glue and cover with tape / paper. Depending on the severity I apply more tape and glue in a carbon composite tyoe of way. This helps stabilise the more brittle CA joint with the strong, flexible hybrid.
8. Baby cracks. Cracks which are not yet really cracks but might develop. Fill any large nail holes (where cracks form) or any partial cracks that haven't gone all the way through with hybrid adhesive and cover. This will move but stop the crack from spreading.
Don't say: 'I think I have enough clamps'
Do say: 'Really? how did the glue get there?!'


Last edited:

